Designing a high-performance warehouse isn’t about stacking as many racks as possible—it’s about creating a flow that supports people, products, and automation. When you treat warehouse pallet racks and automated storage systems as one integrated ecosystem, you can shorten travel paths, increase accuracy, and scale efficiently without tearing up your floor later.
Why Layout Planning Comes First
Every facility—whether it ships 50 orders a day or 5,000—depends on layout. The best racking in the world won’t fix congestion or long walking paths if it’s placed in the wrong spot.
Before talking uprights and beams, step back and map the movement of material: where pallets enter, where items are picked, and how they leave.
Start with five core flow zones:
Inbound & Receiving – where product is checked and staged.
Reserve Storage – long-term bulk or pallet inventory.
Forward Pick Area – smaller quantities for daily orders.
Value-Add or Kitting – light assembly, labeling, or repack.
Outbound Shipping – the last stop before loading.
A logical flow between those zones eliminates backtracking and overlap. When operators can pick, replenish, and ship without crossing paths, productivity climbs and forklift traffic drops.
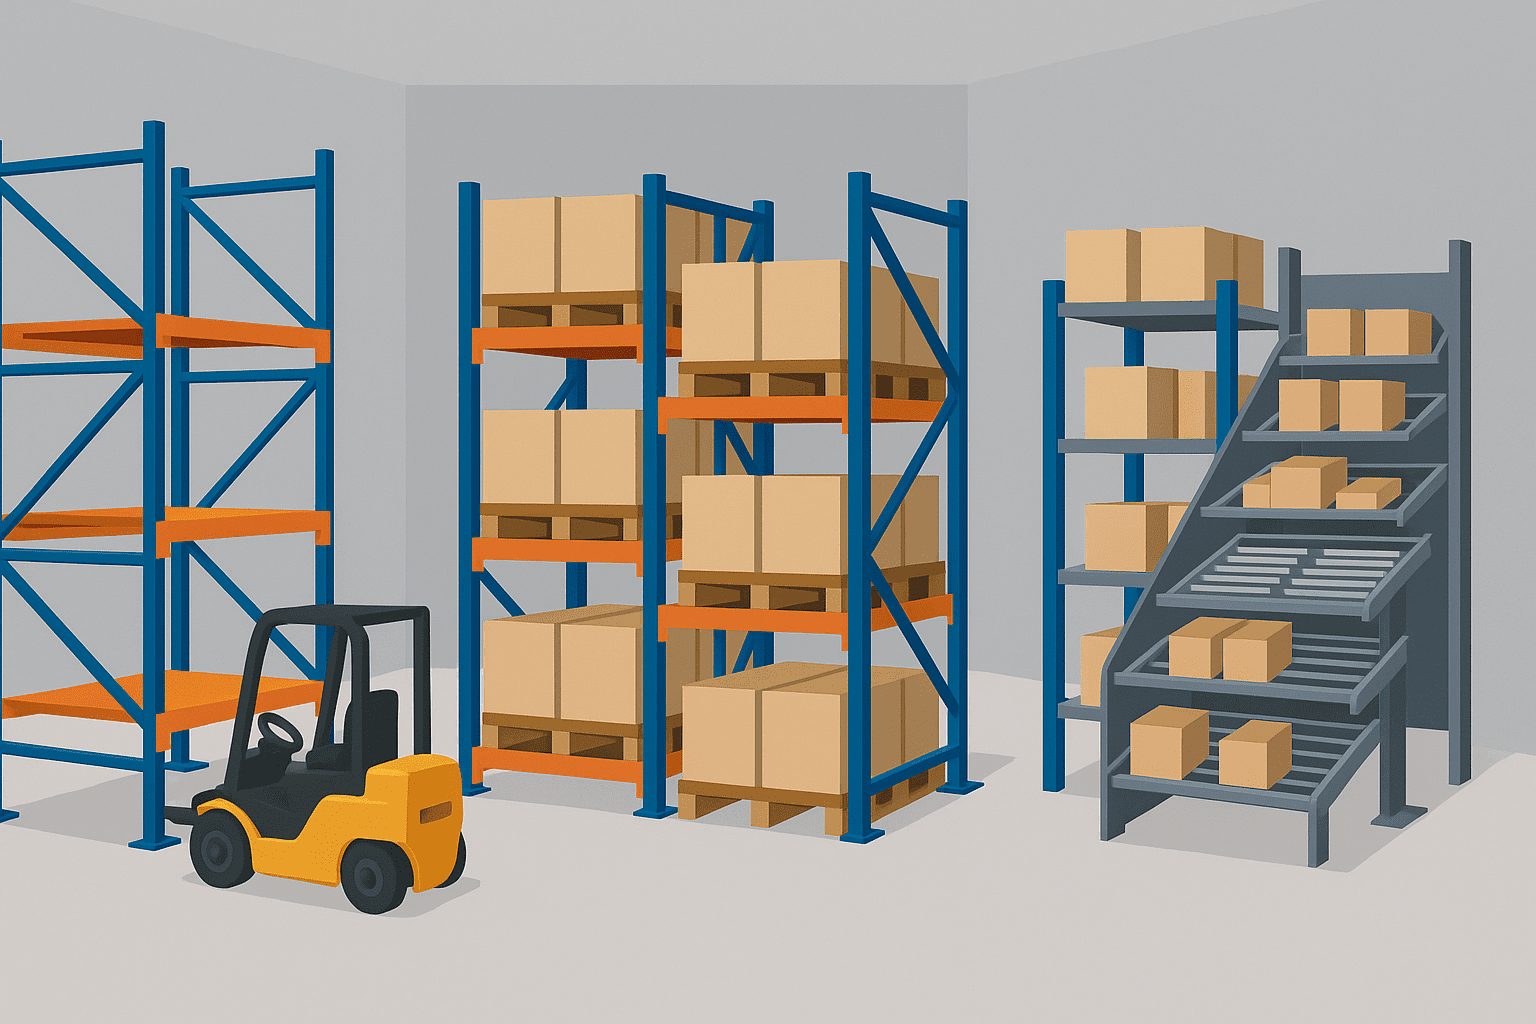
Step 1: Build Around the Pallet Rack Backbone
Nearly every warehouse starts with pallet racking—it defines aisle spacing, lift-truck type, and ceiling utilization. But not every rack serves the same purpose.
Selective Racks deliver 100 percent accessibility for mixed SKUs. They’re ideal for fast-moving items, seasonal stock, or anything that requires direct pallet access.
Learn more: Warehouse Storage SolutionsDrive-In or Drive-Through Racks store uniform SKUs with high density. Great for production runs or slow-moving, full-pallet items.
Push-Back and Pallet Flow Racks balance selectivity and density. Flow systems are FIFO; push-back works LIFO—each saves space and labor depending on your mix.
Carton Flow and Shelving belong beneath or beside pallet racks in the forward-pick zone. They feed case or each picks while the upper levels hold reserve stock.
This multi-layered design creates both vertical cube efficiency and ergonomic access. It also leaves clean “lanes” where automation can plug in later.
Step 2: Plan the Forward Pick Zone
The forward pick is the heartbeat of order fulfillment. It’s where automation delivers the fastest payback.
Start by locating it near packing or manifest stations—short walking distance equals immediate ROI. Then choose how product will arrive there:
Manually, replenished by pallet jacks or forklifts from reserve storage.
Mechanically, via conveyors or lifts.
Automatically, through AS/RS cranes, shuttles, or goods-to-person robots.
By defining this early, you know what electrical, network, and safety infrastructure needs to exist—even if automation isn’t installed until next year.
Step 3: Integrate Automation Intelligently
Automation should serve your process, not complicate it. Here’s how major technologies align with pallet racking.
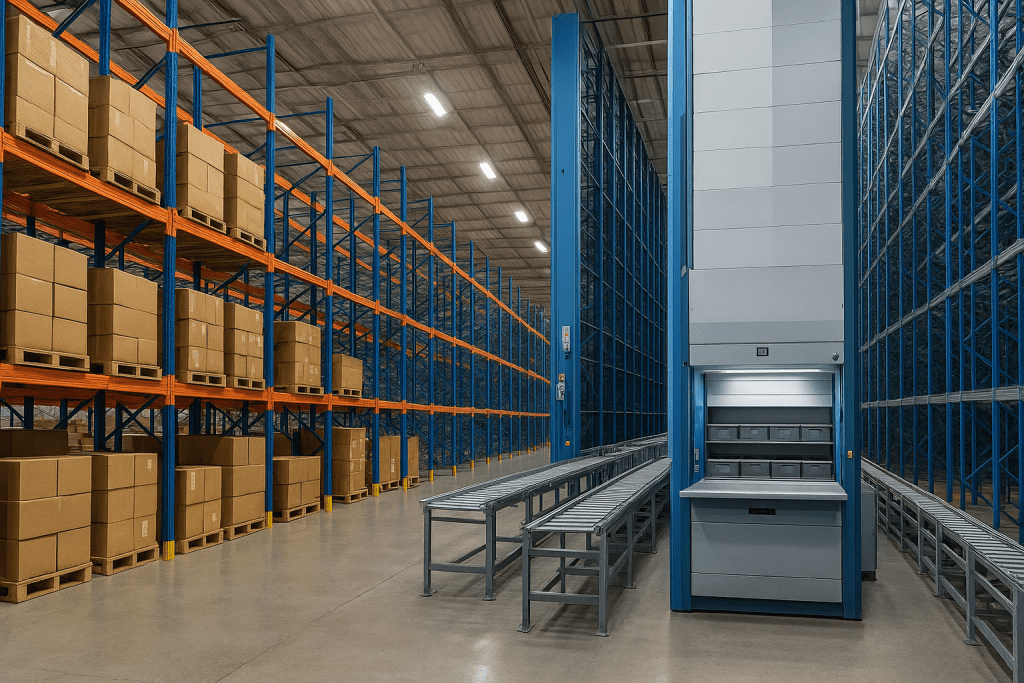
Automated Storage and Retrieval Systems (AS/RS)
AS/RS technology uses cranes, shuttles, or AMRs to move pallets and totes automatically. It’s ideal for high-volume reserve storage feeding forward pick or shipping docks.
When planning, reserve straight, unobstructed aisles for crane travel and leave enough height for lift-clearance zones.
Explore options: AS/RS Systems and RackBot ASRS.
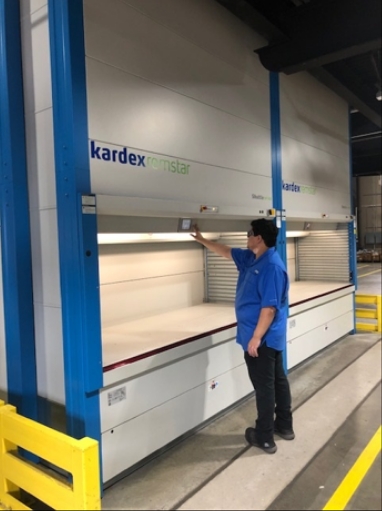
Vertical Lift Modules (VLMs)
VLMs store trays in a tall, enclosed cabinet and deliver them to an ergonomic access window. They can replace long rows of shelving with a footprint one-tenth the size.
Locate VLMs close to pack or kitting stations to minimize walking. Each bank should have safe clearance behind and above for maintenance.
Learn more: Vertical Lift Modules or review pricing in the Vertical Lift Module Price Guide.
Vertical Carousels and Mobile Aisle Systems
When ceiling height is limited or item shapes are uniform, vertical carousels rotate bins like a Ferris wheel to the operator.
See: Vertical Carousels.
For medium-volume storage where floor area is tight, mobile aisles compress static racks together and open only where needed—boosting density up to 50 percent.
See: Mobile Aisle Storage Systems.
Digital Inventory Control
Automation works best when data flows with it. Layer light-directed picking, inventory sensors, and location management software to track every movement.
More info: Inventory Management & Storage Solutions.
Step 4: Design for Growth and Safety
The beauty of modern racking and automation is modularity. Plan clear future paths:
Vertical growth – leave headroom for mezzanines or additional VLMs.
Lateral growth – align aisles so future AMR or conveyor corridors stay open.
Infrastructure – embed conduits for power and Ethernet under concrete now; it’s 10 times cheaper than cutting later.
Safety should guide every expansion. Engineer rack loads properly, maintain sprinkler clearances, add guarding at aisle ends, and use barriers around automation cells. Human and robot zones must remain distinct, with e-stops and sensors meeting OSHA and NFPA codes.
Step 5: Implement a Phased Roadmap
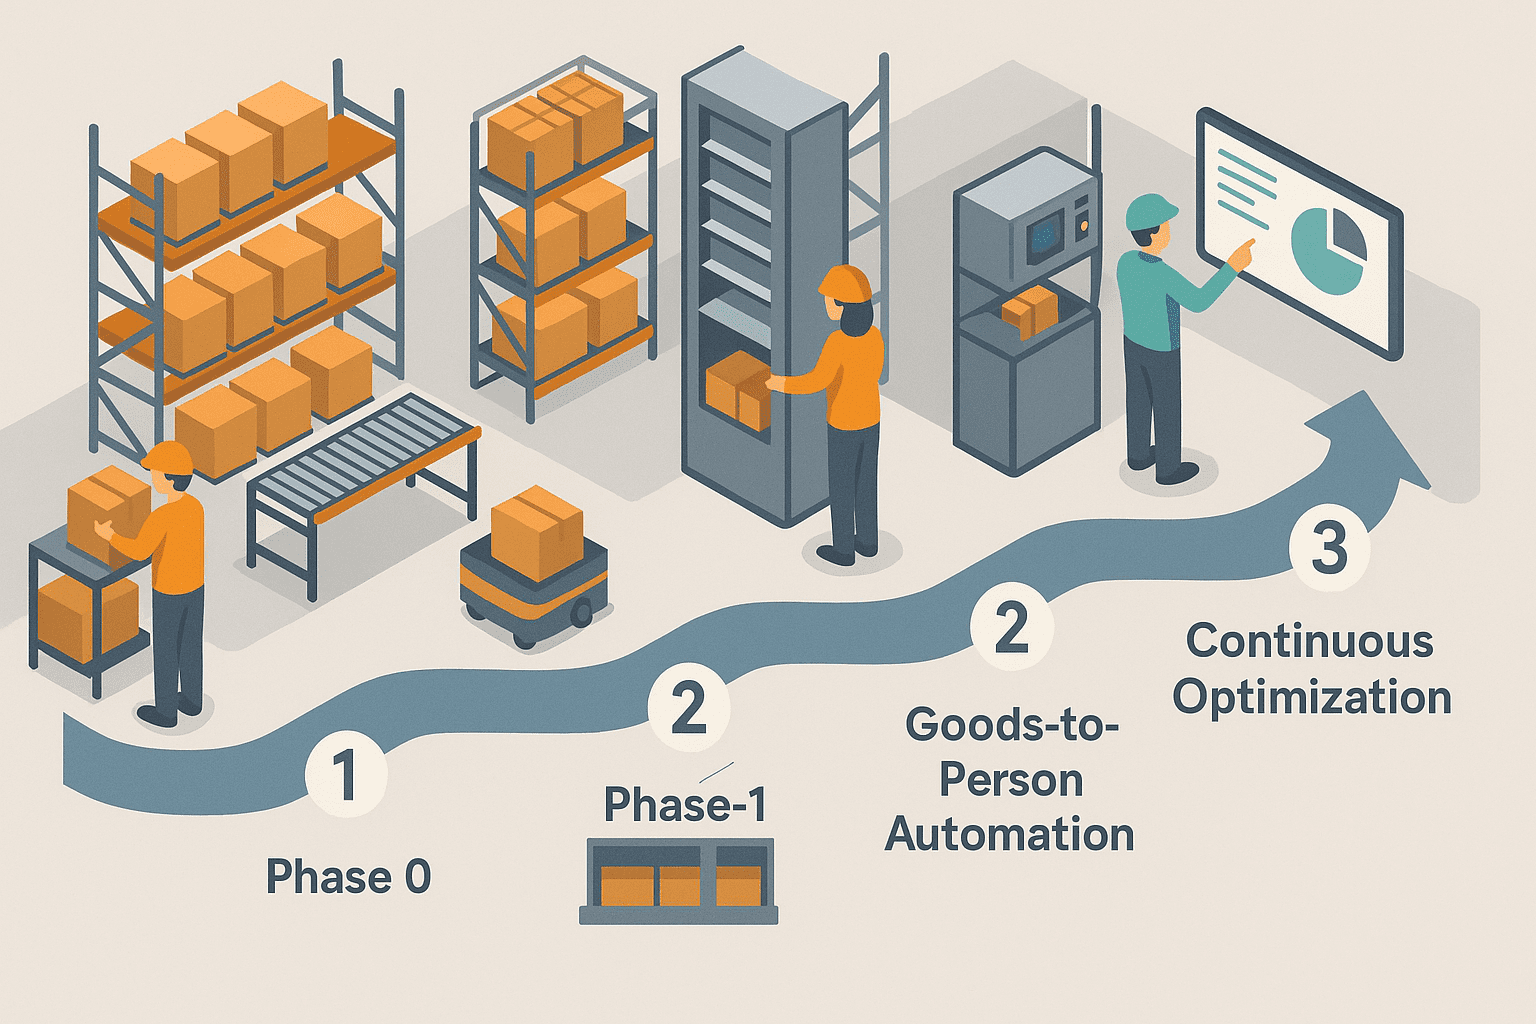
A good layout evolves through defined stages.
Phase 0 – Baseline Setup
Install selective pallet racks sized for your current pallet mix. Create a forward pick adjacent to packing, and establish slotting rules that place fast-movers up front.
Phase 1 – Density and Labor Reduction
Add pallet flow to your busiest SKUs and convert shelving to VLMs or carousels for each-pick items. These changes cut footsteps dramatically while preserving flexibility.
Phase 2 – Goods-to-Person Automation
Integrate AS/RS or AMR-tote systems that feed consolidated pick stations. Travel drops again, and throughput scales with volume.
References: AS/RS Systems | RackBot ASRS
Phase 3 – Continuous Optimization
Review slotting quarterly, expand automation modules as SKU counts rise, and refine replenishment through digital tracking and light guidance.
Each stage delivers measurable savings while preparing for the next.
Step 6: Respect Aisle Widths and Ergonomics
Small details drive big results. Aisles should match the largest truck operating in that zone—no wider, no narrower. Separate pickers from forklifts whenever possible to reduce near-misses.
At each VLM or carousel, orient access windows toward the packing direction so operators move in a single smooth line. Simple ergonomics like that can add 15 percent more lines per hour with no capital cost.
Step 7: Slotting and Data-Driven Decisions
Slotting is the art of putting the right product in the right place. Analyze your order history and rank SKUs by velocity (A-B-C).
Keep only three to seven days of demand in the forward pick. Re-evaluate monthly so fast movers stay close to pack and slow movers migrate higher or farther back.
Measure success with four metrics: lines per labor hour, average pick distance, touches per order, and cubic space per shipped dollar.
When data reveals consistent congestion, it’s time for a design tweak—not guesswork.
Step 8: Plan for Cold or Specialty Storage
Facilities handling food, pharmaceuticals, or aerospace parts face extra challenges. Low temperatures, humidity control, or static protection can limit rack type and automation selection.
For these environments, review specs and case studies on Cold Storage Solutions. Vertical Storage USA designs VLMs, carousels, and AS/RS systems engineered for temperature-controlled conditions.
Step 9: Budget with ROI in Mind
Treat your layout like a phased investment plan. The first dollars should target wasted travel and unused cubic space—those are instant ROI.
Adding a VLM bank near packing can pay for itself within two to three years through labor and floor-space savings.
AS/RS and AMR integrations follow once throughput justifies continuous operation. Layer in software and light guidance last to squeeze accuracy and speed even higher.
Common Pitfalls to Avoid
Many facilities learn these lessons the hard way:
Designing every aisle for the largest lift truck instead of zoning widths.
Over-allocating space to reserve pallets and starving the forward pick.
Placing automation too early without clear data on SKU movement.
Forgetting maintenance access behind machines.
Skipping flue-space and sprinkler calculations.
Avoiding these missteps in the blueprint phase saves months of retrofits later.
Step 10: Validate with Simulation or a Space Analysis
Before committing capital, model your concept digitally. A professional space analysis visualizes throughput, travel time, and cubic utilization so you can compare layouts.
Vertical Storage USA offers this complimentary service to pinpoint where automated storage delivers the biggest payoff.
Request your analysis here: AS/RS Systems.
Bringing It All Together
When pallet racking and automation work as one, the warehouse becomes a synchronized engine: pallets arrive, goods flow to pickers, and data tracks every move.
An optimized layout is never static—it’s a framework that supports growth. Build flexibility into your warehouse pallet racks, reserve conduits for automation, and use data to fine-tune continuously.
Whether your next step is a VLM, a RackBot ASRS, or a mobile aisle retrofit, the foundation is the same: thoughtful planning, safe design, and the discipline to improve a little every quarter.
Related Links
Conclusion
Ready to see what a smarter layout could do for your operation?
Request a free concept drawing and automation roadmap today.
Start here → AS/RS Systems